Card Swap
This paper crafting frenzy that I'm in was partially inspired by a trip to a rubber stamp show with my friend Georgina a few weekends ago (and it seems to be partially fueled by a desire to avoid doing my taxes). We decided to trade cards, using our new tools and techniques. I was very excited to get my first card from Georgina:

Isn't it pretty? I like pink and yellow together, though I've never really selected that combination. I should try that in my beadwork. I also like the popped up look of the central element (adhesive foam squares are now included in my supply box ready to pop). I also hate to admit that that ribbon looks cool. I have zero ribbon, so far, and I'm trying to hold out on that one. I can't tie a decent bow to save my life, despite the many on-line tutorials on the web. Thank you, Georgina!
So I went back to my craft table, to make a card for Geogina, using some of my favorite lacy circles.
 |
| Lacy circles and a charm |
After I made this, I discovered a better way to make a circular card that opens from another of Beate's tutorials, which involves cutting a folded card as I did here, and then cutting an additional full circle doily and adhering it to the front face. That way you get the look of a full circle, but still have an edge underneath for a hinge.
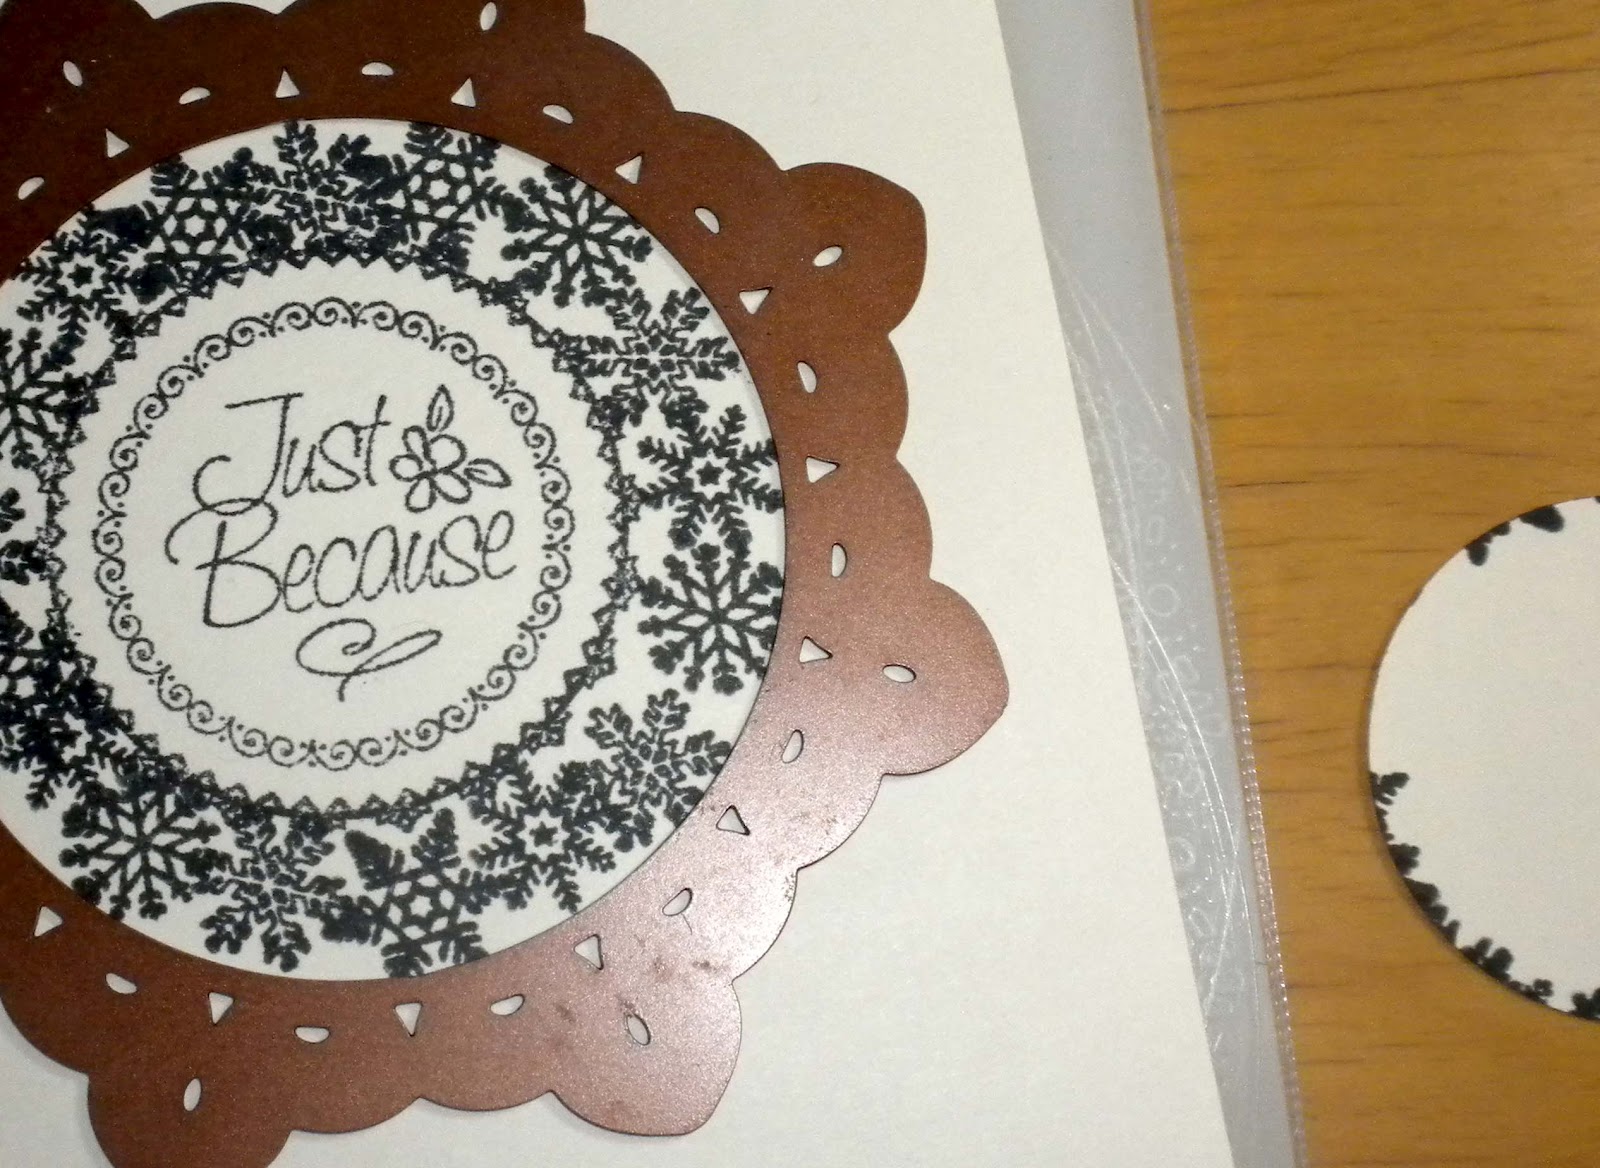
I love the borders by Justrite Stampers; you can see one stamped in black on the cream colored card above, and I used one in the inside (below).

I added the snowflakes to the Justrite border by first stamping the
Justrite image, and then cutting out a circle large enough to mask the inside
edge of the border, but leaving a bit of the outer edge of the border visible. I put
removable roll-on adhesive on the circle stuck it to cover the middle of the
Justrite image. Then stamped the different snowflakes around the outside. When
I took the mask off, I had a snowflake border, with a tidy inside edge. I'm running with that idea shooting for an effect like the Justrite designers get in some of their cling stamps (Here's "Kindness" for example).
In the Spellbinder die packets, the instructions for the Cuttlebug say to first put the A and C plates, and then the die facing up and then the paper and then the cutting plate (B). But it is difficult to align the stamped images that way. I noticed Cheery Lynn dies recommend you flip it over (A, B, paper, die facing down, C), and that worked much more easily.
Tibetan silver is something I discovered last time I dove into paper crafts. It is a zinc alloy that is made into charms and findings in China and sold on ebay for very good prices (though it comes to us on the proverbial slow boat). I bought a set of snowflakes a while ago, something like 50 for $5 in 6 different shapes. I stitched the charm onto the smallest scalloped circle using a seed bead:
1.
Poke two holes about 0.1 inches apart in the
cardstock where you want the charm.
2.
Sew from the back of the cardstock up through a
hole to the front and pull through to leave a 6 inch tail.
3.
Sew through the charm from the back to the front
and then sew through a seed bead.
4.
Sew back through the charm, and down through the
second hole in the card.
5.
Tie the ends together on the back of the card,
and cut the ends so they will not poke out when you glue the backing onto it.

(The two ornate doilies are Cheery Lynn dies, and the rest are from Spellbinder. The border stamps and sentiment are from Justrite Stampers, and the snowflakes are from a collection of unmounted rubber stamps I bought at a show some years ago from I don't know whom.)
I hope Georgina likes it!
Comments
Post a Comment